

 Follow us
 Follow us
A startup sends a constant stream of emails: Sales introductions, investor updates, customer replies, partnership messages, hiring conversations, and support requests. Each email represents the company, even when the message itself is short.
A professional signature helps make that communication consistent. It gives recipients the sender’s name, role, company details, and useful links in one compact block. It can also reinforce the company’s visual identity without turning every message into a promotional banner.
There is no need to code a signature from scratch. An email signature generator can provide a ready-made layout, let you add contact and brand details, and generate HTML that can be used in common email clients.
For a startup, the best approach is to create one clear signature standard first. After that, the same structure can be adapted for founders, sales representatives, marketers, recruiters, and support specialists.
This guide explains how to create an email signature with Stripo, what information to add, how to install the result in Gmail and Outlook, and which practices help keep business signatures clean and consistent.
What should a professional email signature contain?
A business signature should help a recipient answer three questions quickly: Who is writing, what role does this person have, and how can they be contacted?
For most startup roles, a compact set of details works well. Too many fields can make the signature look crowded and distract from the email itself.
A practical signature can contain:
- full name
- job title
- company name
- phone number
- company website
- relevant social links
- company logo or professional photo
- one optional CTA
Not every sender needs every field. A founder may want to add a LinkedIn profile. A salesperson may benefit from a meeting link. A support specialist may need a direct phone number.
Keep the core structure consistent across the company. Decide how job titles are written, which company URL appears in signatures, which logo version employees use, and whether social profiles should link to personal or company pages.
This makes new signatures faster to create when the company grows.
How to create an email signature with Stripo
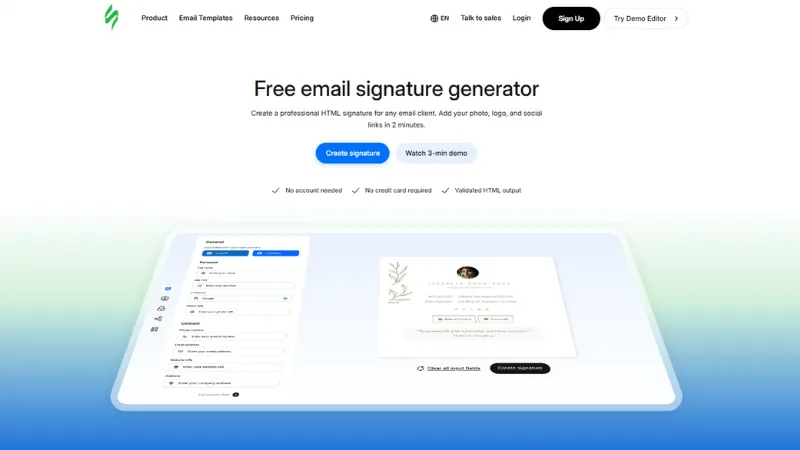
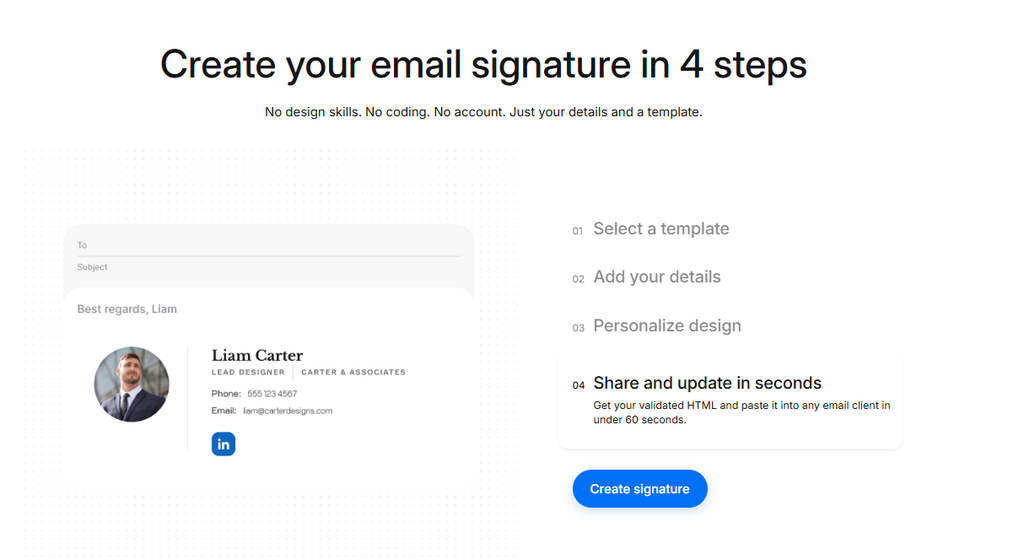
Stripo Email Signature Generator follows four simple steps: Select a template, add personal details, personalize the design, and copy the finished HTML into an email client.
The tool is free, does not require a credit card, and can be used without creating an account. Coding and design experience are also unnecessary for the standard workflow.
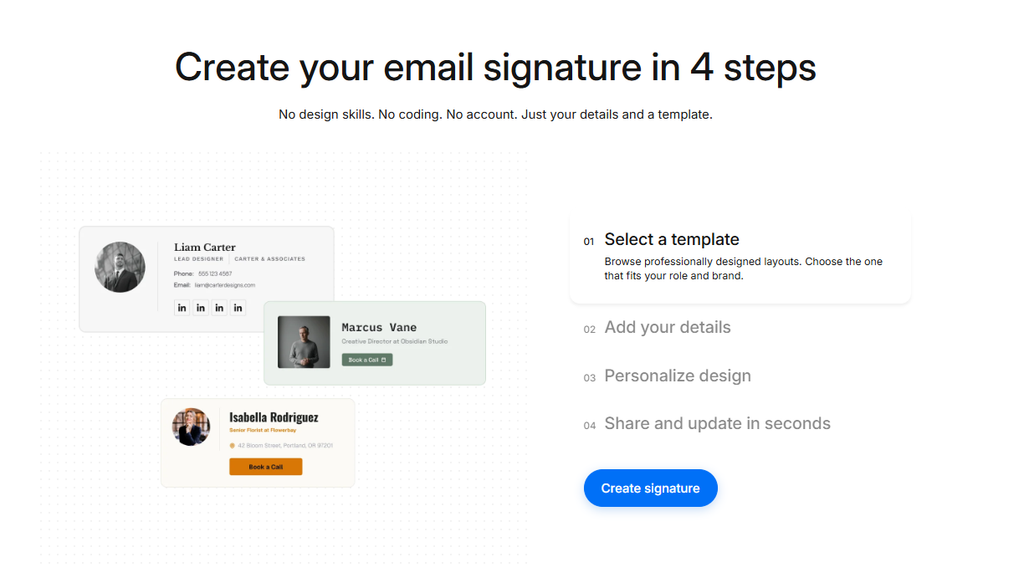
Step 1: Select a template
Start by choosing a professionally designed layout.
The template sets the basic structure of the signature, so look for a format that matches the sender’s role and the company’s visual style. A founder may prefer a layout with a photo and company information, while a customer support employee may need a simpler format focused on contact details.
The signature will appear below everyday emails and may repeat several times in long conversations. A compact structure usually works better than a large block with several decorative elements.
When comparing templates, check a few things:
- whether the name and role are easy to see
- whether the main contact method is easy to find
- whether the layout fits the startup’s visual identity
- whether the block remains clear on a narrow screen
- whether each design element serves a practical purpose
After choosing a suitable layout, move on to the sender details.
Step 2: Add your details
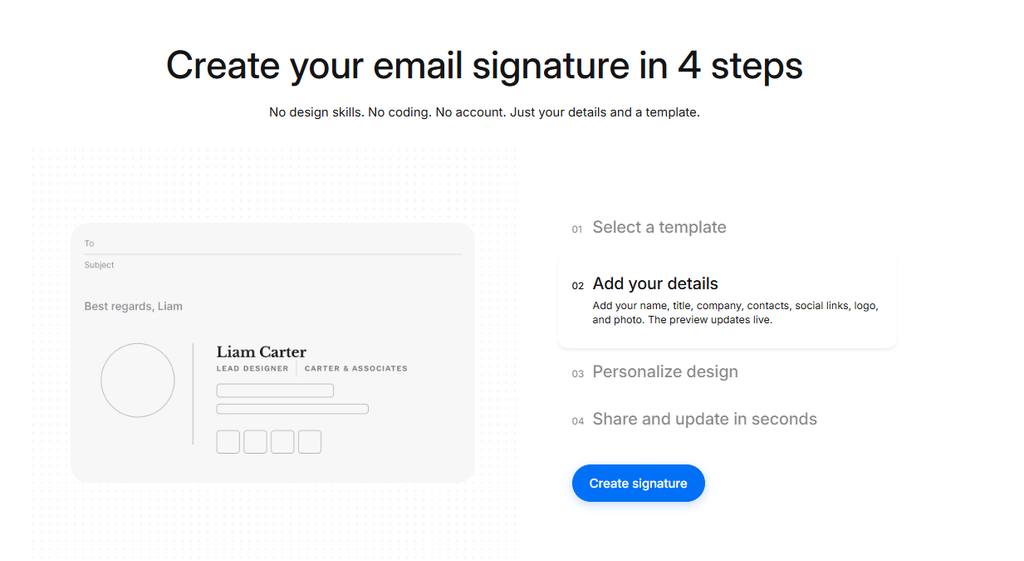
Next, fill in the personal and company information.
Stripo allows you to add the sender’s name, title, company, phone number, website, social links, logo, and photo. The preview changes as the fields are updated, so the finished result can be checked during setup.
Use consistent formatting across the company. For example, choose one format for job titles and one style for phone numbers. If employees work in different countries, an international phone format can make contact details easier to understand.
Social links deserve the same attention. Add only profiles that support professional communication. A B2B startup may use LinkedIn, while another company may prefer to direct recipients to its website.
Photos should also follow a simple standard. If personal photos are part of the signature style, use similar crops, dimensions, and image quality across employee profiles.
Step 3: Personalize the design
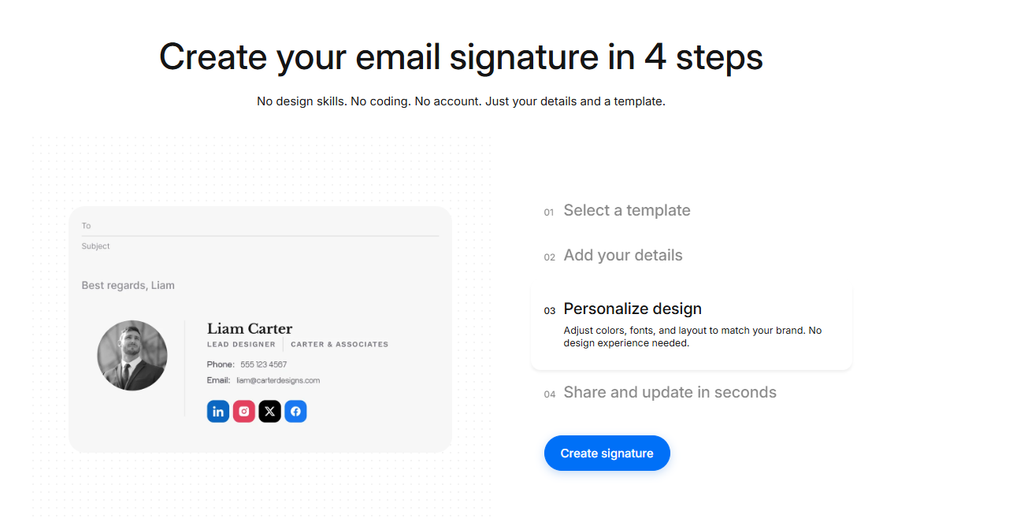
Once the content is ready, adjust the visual settings.
Stripo lets you change colors, fonts, layout details, and social icon styles through visual controls. This makes it possible to align the signature with the company brand without editing HTML.
Start with existing brand guidelines. Use the same logo, primary colors, and general typography style that appear on the company website and other business materials.
Keep the design restrained. One accent color is often enough for links or a small CTA. Several bright colors, large images, or multiple font styles can make a signature difficult to scan.
During the design step:
- keep body text easy to read;
- maintain clear contrast between text and background;
- use the same logo size across employee signatures;
- avoid oversized photos;
- keep social icons visually consistent;
- give the sender’s identity more visual weight than promotional content.
The goal is a signature that feels connected to the brand while remaining functional in everyday correspondence.
RECOMMENDED FOR YOU


Hospitality Startups: How Advanced Education Gives You a Competitive Edge
Team SR
Jul 23, 2026

Step 4: Share and update in seconds
When the signature is ready, generate the HTML and add it to the required email client.
Stripo provides validated HTML output, so there is no need to write code manually. The finished signature can be copied and pasted into an email client in under 60 seconds once the design has been prepared.
HTML also has an advantage over a signature created as one large image. Text remains readable and selectable, while links can stay clickable. A logo or headshot can still be used as a separate visual element.
After creating the first approved signature, use it as the company template. Duplicate the structure for other employees and change only the personal information where possible.
A short internal standard can define:
- approved layout
- brand colors
- logo version
- required fields
- social links
- optional CTA
- review schedule
This helps new employees set up their signatures without inventing a new format each time.
How to add the signature to Gmail
Once the signature is ready, it can be added to Gmail through the account settings.
The basic process is straightforward:
- Open Gmail and click the gear icon, then select See all settings
- Find the Signature section and click Create new
- Paste the finished signature into the editor
- Choose the signature under the default settings for new emails and replies
- Save the changes
After setup, send a test message to another email address. Check that the logo loads, the text remains readable, and all links lead to the correct pages.
It is also worth checking the result on a phone because line breaks and image sizes can look different on a smaller screen.
How to add the signature to Outlook
Outlook uses a similar setup process, although menu names can vary slightly across versions.
A typical setup looks like this:
- Open Outlook Settings
- Go to the account or signature settings
- Create a new signature
- Paste the formatted signature into the editor
- Choose the correct default account and save the settings
Send a test email after installation. Check links, spacing, images, and text formatting before the signature becomes part of regular correspondence.
If employees use several email clients, test the same signature in each environment before rolling it out across the company.
Email signature best practices for startups
The generator takes care of the technical starting point. A few practical rules can improve the final result.
Keep it concise
A signature should work as a quick reference block.
Name, role, company, website, one contact method, and a small number of social links are enough for many business emails.
Extra details should have a clear purpose. Several phone numbers, multiple slogans, five social profiles, and two promotional banners can make short messages feel cluttered.
Use one clear CTA
A signature can support a business goal, but it does not need several competing actions.
A salesperson might use a booking link. A recruiter could link to open positions. A founder may point recipients to the company website or a recent announcement.
Choose one action that fits the sender’s role.
Use HTML instead of one large image
An image-only signature may look neat in a design file, but it has practical limitations. Some email clients block images by default, and recipients cannot interact with text inside the image.
HTML keeps contact details readable and allows links to work as normal.
The Stripo generator provides validated HTML output, which removes the need for manual coding.
Test the mobile version
A desktop preview is only part of the check.
Send the signature to a phone and review text size, image width, line breaks, button spacing, and the total height of the block. If the signature takes up more space than a typical reply, consider simplifying it.
Keep social links selective
Add profiles that are maintained and relevant to professional communication.
For many startups, one or two social links are enough. It is also useful to define an approved set so employees do not add unrelated profiles to business signatures.
Update signatures after company changes
Startups change quickly. Job titles, websites, branding, office details, and campaign links may become outdated within a few months.
Review signatures on a regular schedule. A quarterly check can help catch old information before recipients do.
Professional email signature generator: What should you look for?
A professional email signature generator should make creation and maintenance simple.
Look at the full workflow. The tool should offer business-ready templates, editable contact fields, brand controls, live preview, and HTML output that can be installed without manual coding.
Ease of access is useful for smaller companies as well. Stripo’s generator is free, requires no credit card, and can be opened without creating an account. That makes it practical for testing several layouts before a company adopts one standard.
No-code controls also make future changes easier. If a logo, title, or contact detail changes, the signature can be updated without involving a developer.
What is the best email signature generator?
The answer depends on the company’s workflow and brand requirements.
When deciding what is the best email signature generator for a startup, check whether the tool provides a clean business layout, visual customization, live preview, editable contact fields, and HTML output. Installation should also be simple for the email clients used inside the company.
Stripo covers these needs with ready-made templates, visual design controls, validated HTML, and setup steps for Gmail and Outlook.
For a growing startup, ease of updates is also worth considering. A signature system should remain simple when new employees join or existing roles change.
Final thoughts
A professional email signature gives every business email a consistent finish. It helps recipients identify the sender, find useful contact details, and connect the message with the company brand.
The setup itself does not need to be complicated. Choose a template, add personal information, adjust the visual style, and copy the validated HTML into the email client. Once the first version is approved, the same format can serve as a reusable standard for the rest of the company.
With Stripo.email, startups can create a signature without an account, credit card, coding skills, or design experience. The generator provides ready templates, live editing, brand customization, and HTML output that can be used in common email clients.
A clear signature standard created early can save time later and help a growing startup present a more consistent identity across daily email communication.
Recommended Stories for You

Team SR Sep 1, 2026

Team SR Jun 1, 2026

Team SR Dec 24, 2025

Team SR May 30, 2026

Team SR Aug 25, 2026

Team SR Aug 17, 2026
Trending Stories

From Full Moon to New Moon: How Apps Can Use Lunar Cycles to Engage Users

How Moving Companies Can Make a Difference in Their Communities

Getting ready for the first day of school: a parent’s checklist that actually helps

A Startup Founder’s Guide to Choosing the Right Digital Growth Channels

Technical Applications for Modernizing Oil and Gas

Winning New Customers: How FinTech Startups Can Stand Out In A Competitive Market

What Free Really Means When You Register an LLC: State Fees, Service Fees, and First-Year Tools

How to Choose a Nonprofit Board Seat That Fits Your Life, Not Just Your Calendar